Showing posts with label Vintage Velvet Ribbon. Show all posts

Tuesday, December 13, 2011

Ornaments and Games


Hi, it's Diane today with a couple of "off the page" projects to share.  When choosing Creative Charms embellishments, I think most people plan to use them for cards and scrapbook pages.  Sometimes it is fun to think outside of the box and find other ways to use your Creative Charms treasures.


These glittered ornaments have been popular for several years.  If you don't know how to make them you can check THIS POST on my personal blog for directions.  The ornaments are often decorated with vinyl initials and words.  I used some of the leafy ribbon from the Fuzzy Daisy Kit, two colors of Gradient Gem Stickers and some of the brown Velvet Ric Rac ribbon for this ornament.


The Vintage Metal Frames make great playing pieces for a game.  I used two of the Christmas sets to make this tic-tac-toe game.


I punched 3/4 inch circles to adhere to the frames and cover the adhesive.  You can easily attach the pieces to a slightly larger base if you would like to.


You can even store the playing pieces in one of the little organza bags that sometimes come with the large Creative Charms butterflies.


If you would like more detailed directions for these projects, please visit my blog, Capadia Designs.  These are quick and easy projects when you have the Creative Charms items to work with.

I hope you have fun thinking of some new ways to use your Creative Charms embellishments - be sure to leave a comment and tell us what you make when you start thinking "off the page."

Have a very Merry Christmas!


Wednesday, November 23, 2011

Gift Box and Winter Friendship Card


Hi, it's Diane today with a couple of quick projects.  Most of you are probably busy getting ready for the Thanksgiving festivities - I hope you have a wonderful holiday!


If you want to make a gift package a bit more special, try adding some Creative Charms.  I wrapped wide green grosgrain ribbon around a small silver gift box, added a piece of black Vintage Velvet Ric Rac along the longer ribbon and popped on a couple of red Vintage poppies for an elegant presentation.


I changed the pearl brads that come in the vintage poppies with a red Vintage Jewel Brad and a round green Vintage Jewel for a different look.


We had snow in Massachusetts before Halloween but there hasn't been any more snow yet.  This card can be sent to a friend anytime during the winter.


I added a snowflake from the Winter Medley to the sentiment stamped inside the card.


An iridescent snowflake from the Winter Medley and a snowflake from the Winter Seasonal Sparkles accent the cut out design in the front of the card.


The word "snow" from the Winter Seasonal Sparkles is easy to add to the front of the card.  The tiny gems are embedded in adhesive and you can gently lift the entire word and place it on the card.

Have a wonderful Thanksgiving - I hope you can spend it with your loved ones.  If you want to see more detailed directions for these projects, you can check my blog, Capadia Designs (the posts will appear after the Thanksgiving holidays).

Thursday, November 17, 2011

So Thankful

Hey y'all! Aymee Gandy of 'A Scraphappy Southernbelle' here with you on this gorgeous day to share my very first post as a DT Member of Creative Charms! I am SO excited and SO thankful to be here working with these fabulous designers and with such fabulous products! So let's get started...

For my first project, I have a Thanksgiving frame to share with you. I just love Thanksgiving! It is a time of family, friends, and fabulous food. It is also a time that we count our blessing and are thankful for all we have in our lives. I wanted to create a frame to add to the festive decor' I have going in my kitchen for the holidays. So I turned to some fabulous embellishments from Creative Charms to create my project.

I started off with a basic frame that I purchased at a local dollar store. I then cut a turkey out using my Cricut electronic die cutting machine. For the feathers, I turned to a trick that I tried out the other day on my personal blog. I loved the trick so much, I decided to do it again! LOL! I used some luscious ribbon from the Fancy Polka Dot Ribbon Collection. I took strips of Brown & White Fancy Polka Dot Ribbon and Red & White Fancy Polka Dot Ribbon, folded them in half, and adhered them to my die cut turkey to act as 'feathers.' I then added a few Seasonal Sparkles Stickers-Autumn Words & Bling in with my 'feathers', to the brim of my turkeys hat, and as my sentiment on the frame. I also added a Vintage Jewel Brad in Amber to the top of my turkeys hat. I adhered all of the pieces to the top of the glass of my frame using a strong adhesive. Next, I decided to jazz up the edges of the frame. I used more of the Vintage Jewel Brads in Amber and Velvet Ric Rac in Red to finish off the project. I can't wait to display this in my home for the holidays!
 I love the dimension that the Vintage Jewel Brads, Seasonal Sparkles, and Ribbon give!
 Just a closer look at my 'feathers' so you can see.
 After finishing up my Thanksgiving frame, I decided to turn to our next big holiday...Christmas! Another holiday that I love! For this project, I made a card to send out to a fellow scrapbooking pal. I created a 'Christmas tree' on the front of my card using an assortment of Gradient Brads and Gem Stickers from the November Deal of the Month to create my card. I am sending this to a scrapbooker because I know that they can easily disassemble this card and re-use the fabulous Gradient Brads from Creative Charms in a project of their own. So really it's a gift within the card! I also used a seasonal sticker and a corner punch on this card.
 The November Deal of the Month is packed full of some awesome goodies!!! It includes 138 pieces for $6.99!!! A Sweet Deal!
 Don't these Gradient Brads provide wonderful dimension? I love them!
I hope you have enjoyed my first blog posting! I had such a good time working with these awesome products from Creative Charms! They really brought my projects to life!

Thanks for visiting the Creative Charms blog! We hope to see you again soon!
Happy Scrappin'!!!

Wednesday, October 26, 2011

Gratitude!


Can you believe that Thanksgiving is just around the corner?  And then of course is Christmas!!  Where is the time going???  This card is embellished with Creative Charms Vintage Ric Rac Ribbon in brown, Amber Gradient Gem Stickers and the leaves from the Fall Medley.  I used and embossing folder on the Chocolate Chip CS from SU to add texture and pop dots on the sentiment tag to add dimension.   Happy Thanksgiving a little early!!


Top view

This tissue box cover was made using the technique from Split Coast Stampers.  My version was made using the Naturals White CS from SU and embossing with Cuttlebug embossing folders and applying ink to paper to bring out the embossing.  I added some embossed punched leaves and inked them to bring out the veins in the leaves.  Added some embellies from Creative Charms, the orange Fancy Felt Flowers and one of the stickers from the Thanksgiving Multi-dimensional chip board stickers.  The top of the tissue box was created using Nestabilities Large Oval die #1 and the Small Scalloped Ovals die #1,  Then the panel was adheared on top and embellished again with the punched leaves and orange felt flower.  This cover will fit righ over top of the kleenex box and can be used over and over again.  Love how this turned out. 

Friday, April 8, 2011

Poppies, flowers and butterflies - off the page...and on


Finally Friday - I hope you have had a great week!  It's Diane today with a few projects to share.  I tried some new ideas and used some of my Vintage Poppies to embellish items other than paper projects.


The gray Vintage Poppies add a lovely finishing touch to this silk travel jewelry roll.  I took out the pearl brad in the center of the larger poppy and used a blue gem brad in a shade to coordinate with the silk.  You can sew the poppies to the fabric or use a fabric adhesive to attach them securely.


I also revived an old black hairband by adding three red vintage poppies with red vintage jewel brads in the centers.


The sparkle of the jewel brad makes the band more suitable for a fancy occasion.


I placed the poppies toward the front of the band so they would be more visible when it is worn in the hair.  You can also attach the poppies to barrettes or  hair elastics for  special events.


The velvet poppies are so versatile.  I used one of them with a 3D vintage flower brad and some velvet Ric Rac ribbon to decorate this note cube.  You can read more details about how I made this on my blog at THIS POST.


This little paper purse uses some vintage jewels and a beautiful flared flower as the focal point.  I used the "Forever Young" Cricut cartridge to make the purse and there are some helpful tips on assembling the bag on my blog at THIS POST.


I think these butterflies from the April Kit of the Month are beautiful - and I just can't resist the sweet bag that they arrived in!


I popped one on this card to make it even more colorful.  It is fun to have the scale a little off - either that frog is far away or the butterfly is gigantic!  I used the "Give a Hoot" Cricut cartridge for this card and you can read more about it HERE.


Here is a closer view of the butterfly.  The large gem that makes the body is a perfect shape and so sparkly!

I always enjoy working with the Creative Charms products - they can be used in so many ways.  If you would like to win some packages of flowers, bling and other wonderful things, I invite you to come join the "million plus hits, thousand plus posts and third blogoversary celebration" on my blog Capadia Designs.

I hope you have a wonderful weekend and have fun crafting!

Monday, February 21, 2011

Variety of Cards!


The Kit of the Month for February has so many possibilities to choose from.  This first card is called a "Z Fold" card and is one of my favorite to make because to me it seems like there is a "surprise" inside. 


From the kit I used the White Flared Flowers and when you open the card it looks like the one on the bottom is floating.  It is also accented with blue Gradient Gem Stickers to dot the I's and the exclamation point!  Love how this turned out!


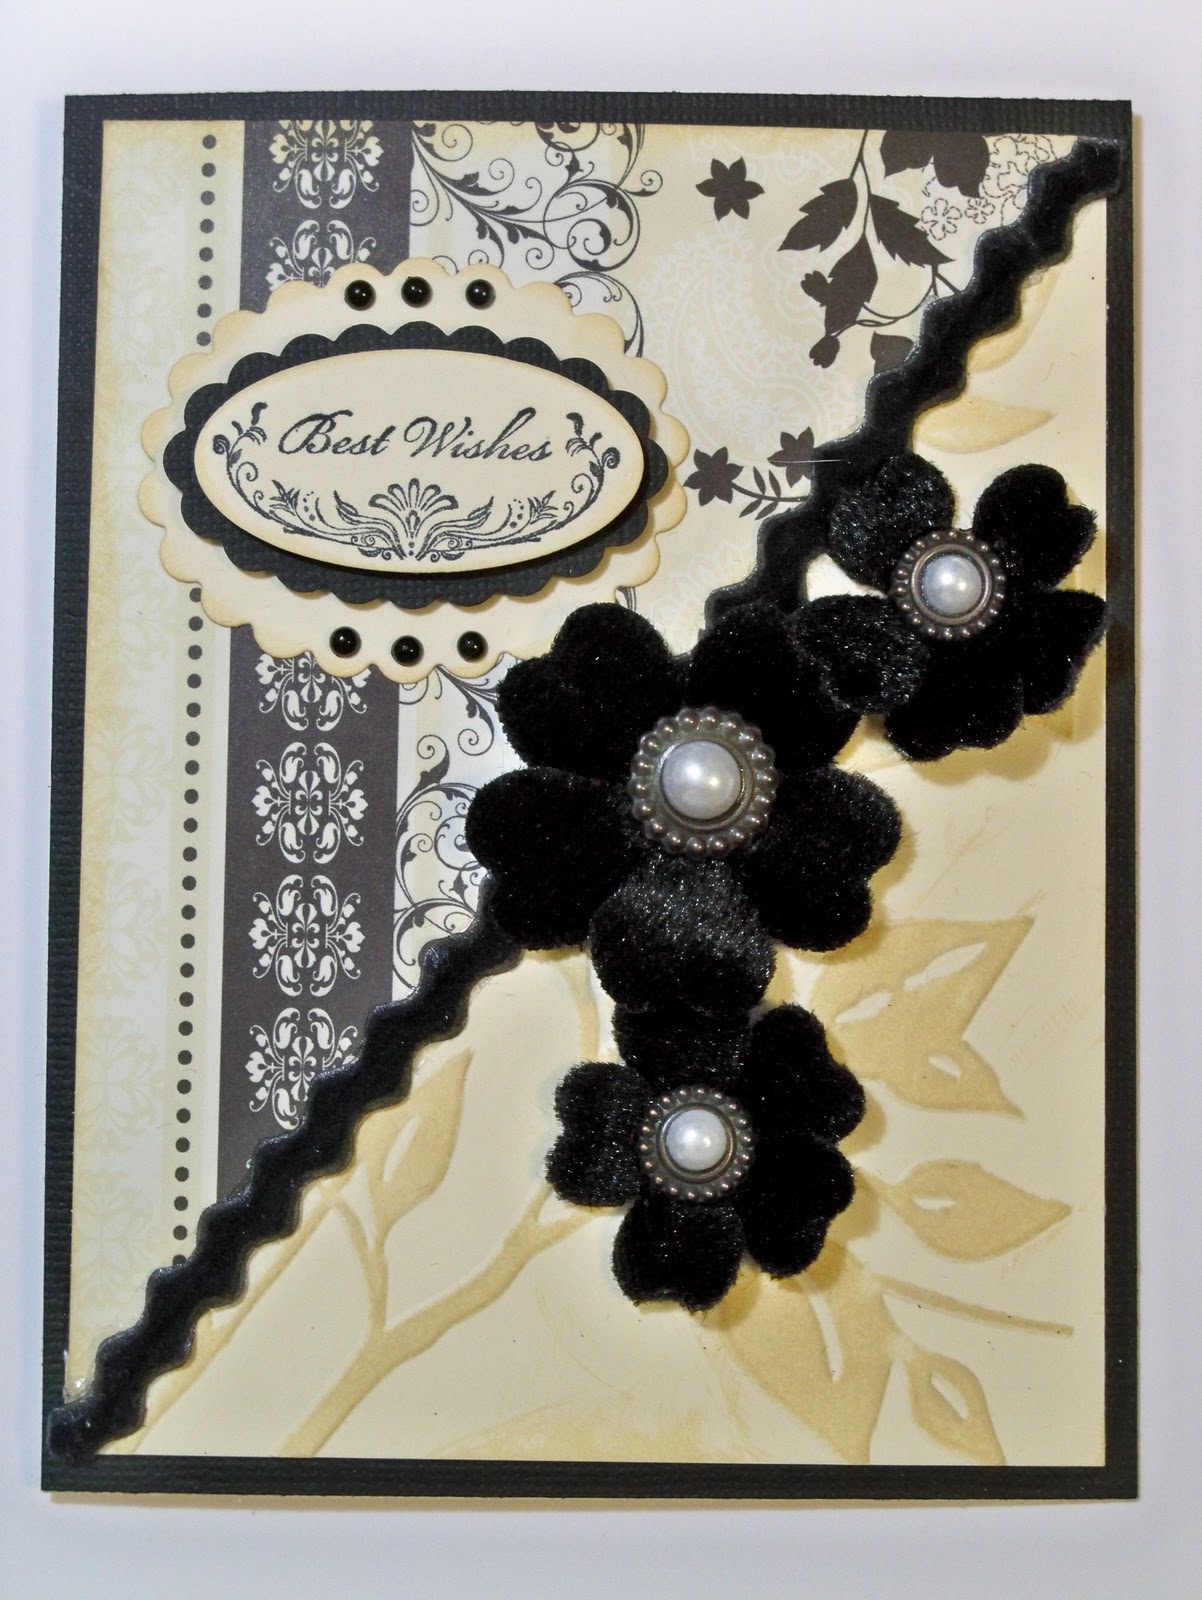
This second card uses the Black Vintage Velvet Poppies and I added the White Vintage Pearl Brads for the center of the flower.  The sentiment is accented with Gradient Pearl Stickers and the Black Vintage Velvet Ric Rac ribbon sets it off perfectly.  The bottom section is embossed using a cuttlebug embossing folder and then inked to bring out the embossed image.


The inside of this card is also accented with the Gradient Pearl Stickers.  I just love using the Gradient pearls and gems on my cards.


On this Birthday card I used the tiny stars from the Winter Seasonal Sparkles to accent the snowflakes.  I also used another of the White Flared Flowers included in the kit.  There is so much in these kits it is amazing.  I also used a Nestabilities die and inked it to bring out the embossed element of the die.  The oval was embossed with a cuttlebug embossing folder and the snowflake is once again from Nestabilities.  The lace border was punched using a MS punch.

Tuesday, December 7, 2010

More Nikki Sivils and Creative Charms....

Hey everyone! Jennifer Yates here on this Tuesday! Has everyone started or even finished their holiday shopping? I'm jealous if you have! I have one more gift giving/stocking stuffer idea for you! It is none other than the Creative Charms "Nouveaux Vintage Kit." I LOOOOOVVVVVEEEE this kit...it is a MUST HAVE! It is the December Kit of the Month here at CC and I was so excited to play! We got an extra special treat this month using the fabulous products from Nikki Sivils Scrapbooker to create from. I am so honor to design for Nikki and it was such a treat to combine both products!

Here is what I came up with using this awesome kit of the month...my kids sing a really sweet song in chapel each week at school, so I used the title of the song for the layout. I created a large tree, I'm REALLY into those right now...seems like every other layout I do includes one! ;) with the Velvet Vintage Poppies, the 18" Brown Vintage Velvet Ric-Rac and the Amber Vintage Flower Buttons and the paper products are all from Nikki Sivils "Tree Love" line.

Always

here is a closeup of the flowers, jewels and ribbons...

always closeup

And lastly I wanted to share a card I did using Nikki's Chipboard Album, the Tree Love line and a cute little Vintage Velvet Poppy in Burgundy to top it off.

Fall Hello Card

That is all for me today!!! Hope you pick up some of the wonderful CC embellishments for your gift giving ideas!!!

Related Posts Plugin for WordPress, Blogger...