Showing posts with label Ellen Panseri. Show all posts

Wednesday, January 18, 2012

Hearts Aplenty!


Hearts that sparkle embellish this pink, red and white Valentine card.  The hearts were left over from a previous years kit of the month but made a great focal point for this card.  The sparkle was added using Creative Charms Gradient gem Stickers in red.  

Happy Valentines Day to all our blog friends!


This card is a revival from one that I did when I first started with Creative Charms design team several years ago.  The red Gradient Gem Stickers embellished the lace punched edge and the butterflies are from the Red Gem Garden.  


Friday, December 30, 2011

Birthday Wishes!


The Creative Charms Kit of the Month for December is perfect for creating this Winter Birthday Card.  For the card base I used White Bazzill card stock and edged the bottom with the MS Snowflake border punch.  The Snowflake from the Kit of the Month was embellished with the snowflake and stars from the Winter Seasonal Sparkles with another snowflake added to the corner of the sentiment.  The DP is from Authentique Journey collection and the solid card stock is Night of Navy and the sentiment is from Watercolor Tri stamp set both from StampinUp

Wednesday, December 14, 2011

Frosty the Snowman?


We all know that Frosty was a jolly, happy soul, and so he is on this card!  This stamp is from JustRite Stamps and he was colored with copics.  Used Spellbinder dies to cut out and mat the snowman.  Used the Vintage Blue Flower  buttons because they reminded me of snowflakes!


Here is a close up of Frosty and his frosty flakes.  I also love the look of the lacy snow on the card.  Just the right touch.

Friday, November 25, 2011

O Christmas Tree!


I am working on getting my Christmas cards done for this year. I still have a way to go.  Here are 2 samples of cards.  The first one uses the Green Wide Fancy Polka Dot Ribbon wrapped around triangles to build a Christmas tree.  It is decorated with Holiday Gradient Gem Stickers and Red & Green Vintage Jewels all from the Deal of the month.  The tree trunk is also one of the Vintage Jewels.  I like how this one turned out.


This Christmas tree was stamped on card stock and once again decorated with the Holiday Gradient Gem Stickers from the Deal of the Month.  This deal is jam packed with goodies and perfect for completing all your Christmas cards!

Tuesday, November 8, 2011

Gingerbread Fun!


Who doesn't love a Gingerbread Man and a Gingerbread House?  I had so much fun making these shapde cards and what better Christmas cards to start with than Gingerbread cards?  They were both cut from SVGcuts Warm Gingerbread SVG kit and sweetly embellished with assorted Creative Charms gems!


This Gingerbread Man is showing his sweet sentiment with a banner  enhanced with Gradient Gem Stickers on the bows and also one for his sweet little red nose. Card stock used was red, white and green glitter card stock from Bazzill.   The fur for the hat and boots were cut using White Daisy CS from CTMH and embossed with a Cuttlebug embossing folder.  Delicious!!


And how about this sweet little Gingerbread House.  This one is embellished with both the Gradient Gem Stickers as well as the Vintage Jewels stickers in red and green!  The white Gradient Pearl stickers on the snow on the rooftop worked perfectly.  The candy cane and gum drops are cut from glitter card stock from Bazzill and the base is cut from Brownie Co'ordinationations card stock also from Bazzill.  Makes me so ready for Christmas and all the magic that goes along with it!

Wednesday, October 26, 2011

Gratitude!


Can you believe that Thanksgiving is just around the corner?  And then of course is Christmas!!  Where is the time going???  This card is embellished with Creative Charms Vintage Ric Rac Ribbon in brown, Amber Gradient Gem Stickers and the leaves from the Fall Medley.  I used and embossing folder on the Chocolate Chip CS from SU to add texture and pop dots on the sentiment tag to add dimension.   Happy Thanksgiving a little early!!


Top view

This tissue box cover was made using the technique from Split Coast Stampers.  My version was made using the Naturals White CS from SU and embossing with Cuttlebug embossing folders and applying ink to paper to bring out the embossing.  I added some embossed punched leaves and inked them to bring out the veins in the leaves.  Added some embellies from Creative Charms, the orange Fancy Felt Flowers and one of the stickers from the Thanksgiving Multi-dimensional chip board stickers.  The top of the tissue box was created using Nestabilities Large Oval die #1 and the Small Scalloped Ovals die #1,  Then the panel was adheared on top and embellished again with the punched leaves and orange felt flower.  This cover will fit righ over top of the kleenex box and can be used over and over again.  Love how this turned out. 

Wednesday, October 12, 2011

Is it Boo Late??


Somehow the Columbus Day holiday confused my brain and I lost track of days and that is why I am posting so late today!  Well as they say, better late than never!  I am using the October Kit of the Month and love how much you get with this kit.  The card was made using the Halloween Vintage Frame stickers as the "o's" in Boo.  The B is chipboard inked with Ranger Dried Marigold Distress Ink and then stamped with Dusty Concord Distress ink.  Tip: It takes a long while for the ink to dry on the chipboard so I suggest using a heat gun to dry it before handling it.


Here is a close up!


The Halloween Treat was made by cutting the DCWV CS with a Spellbinders die and then framing it with black cardstock and rounding the corners.  I used one of the Halloween Twinkle Stickers to enhance it.

Wednesday, August 31, 2011

Card and Layout Share


Fall is my favorite season of the year with all the beautiful colors!
I made this adorable fall birthday card using the Pick a Pumpkin Kit from SVGcuts.com.  I used the Black Gradient Pearl Stickers from Creative Charms for the eyes.


Here is a layout showing some flowers with a  with Spring time look using a layout from SVG cuts Memory Garden Kit.  The centers were accented with the Vintage Jewels.  I find that I use these quite a lot because they add a nice touch to any layout or card.

Wednesday, August 17, 2011

Sew Cute!


Tried something new on this card, actually sewed the top layer on for a new look for me!  I really like how this turned out so I went out and bought a little sewing machine for my scraproom, shhh, don't tell my husband, he thinks I'm crazy as it is :o).  I use BoBunny Double dot CS for the card base, pink Bazzill for the first layer and BoBunny Back to Basics a gift of love for the top layer and the strip.  Love how double sided cardstock makes it sooo easy to coordinate your papers!  Birthday wishes was stamped using SU stamps and punch and then popped to give it dimension.  I completed the card with the CC Pink Sunflower and the little green daisies from the Fun Flowers.  Also added some white Gradient Pearl stickers on the upper left corner, love those pearls!  Hope you like how it turned out too!

Saturday, August 6, 2011

Thanks So Much!!

It is always nice to thank someone who has helped you, gifted you, or just plain was there when you needed them with a Thank You card. I know I always enjoy receiving them.  I used one of my favorite Creative Charms flowers to adorn this card, the Multi Layered Organza flower in blue.  It is such a soft looking flower and so very pretty!  I also used a MS edge punch on the Bo Bunny Double Dot CS and accented the flowers in the punch with the Gradient Pearl stickers in white.  The "lace" ribbon is actually a paper ribbon that I colored with ink to match the card and the stamped sentiment is from Stampin Up. 

Thursday, July 21, 2011

Joy to the World!

I'm getting an early start on my Christmas cards this year so here are 2 samples of what I've done so far.


This first one features the Christmas Twinkle stickers found in the July Kit of the Month! I love the simplicity of this card especially for mass production!  It is a 3 1/2 x 8" white cardstock scored at every 1/4 " and "JOY" is mounted on white and silver squares.  The red ribbon background finsishes it off perfectly.


This A2 size card is made with green Bazzill card stock and various DP from my stash and the edges are inked with Desert Sand from CTMH to give it a distressed look.  I used the "JOY" once again but this time from the Winter Chipboard stickers.  Finished it off with a red and a green button with gold embroidery floss for the "stitches".  Two simple but beautiful cards that can be made quickly when you have to mass produce a Christmas card!

Thursday, July 7, 2011

Birthdays and Butterflies!


I am so in love with these adorable Butterflies from the 3-D Sparkly Garden Brads from the Deal of the Month.  They add just a little bit of whimsy to this card.  I also used the Orange Fancy Felt Flowers on the stamped leaves and the Purple Fancy Polka Dot Ribbon as an accent on this card.  I love this embossing folder for this card because it provides the perfect backdrop for the inset.        


This center fold step card was such fun to make.  I love cards that are unique and different.  I also used the 3-D Butterfly on this card but this time in the green and  included the Sparkly Floral gems from the 3D Sparkly Garden Brad collection.  The same stamp was used for the stem on this card.

Monday, June 6, 2011

Happy Summer Holidays!!


There are many patriotic holidays in the Summer, first there is Memorial Day, then Flag Day, 4th of July and Labor Day.  All occasions to use the colors Red, White and Blue.  My husband always celebrates his birthday on the 4th of July too so of course there is my chance to make a RWB Birthday card! I used the blue Vintage Jewels to accent the corners of this card and paper pieced the cake stand on this stamp.  CS used was Bazzil and Bo Bunny double dot (one of my favorites)


On the inside I stamped a star and accented it with one of the red Vintage Jewels.  These are only of few of the items you get in this months Deal of the Month! 


This is one of my favorite layouts I have done recently.  This is the 4th of July, 2010.  Yes, I am a little behind.  I love how the Vintage Jewels and the Gradient Gem stickers match so well and I used them to make fireworks for this layout.  


Here is a closeup of the fireworks!  Aren't they awesome!!  Can you imagine the combinations you can use for these?  This Deal of the Month is fantastic and you get so much!

Friday, May 20, 2011

A Victorian Appeal!


 I loved all the crocheted items in the May Kit of the Month, A Knitted Garden!  On this birthday card I used the flowers from the Orange Countryside Garden.  I also added the Amber Gradient Gem Stickers from Deal of the Month.  I stamped Happy Birthday on the White Daisy cardstock from CTMH and backed it with embossed Bazzil Peridot Gemstone Cardstock and Creme Brulee cardstock from CTMH.  Used the MS ZigZag embossing border punch to finish the edge.  Lace is from my stash and leave are the MS Pine Branch Punch.  I love the soft look of this punch and use it quite a lot. DP is from DCWV.


Here is a close up of these adorable flowers.  They would also look great with a Pearl Brad in the center.  So many things you can do with these flowers.  Once you try them you will want all the colors available.  Enjoy!

Here is everything you get in the Kit of the Month!  Fantastic Deal!!


Each Kit Contains:
  • Knitted Strawberries - 3 Pieces
  • Orange Countryside Garden - 6 Pieces
  • Green Knitted Butterflies - 4 Pieces
  • Blue Small Knitted Flowers - 9 Pieces
  • Blue Blooming Garden - 12 Pieces
  • Pink Blooming Garden - 12 Pieces
----------------------------------------------------------------------

Friday, May 6, 2011

Happy Mother's Day!

I would like to wish all you mom's a Happy Mother's Day!  This is a card I made for my beautiful daughter to celebrate Mother's Day.  She will be coming up with her family to spend the weekend.  We have a wonderful dinner planned and a trip to the zoo with the girls.  This card was made using the Gradient Pearl stickers from the Deal of the Month (you get an awful lot of bling in this deal!) and the Layered Vintage Flowers from the Vintage Poppies collection. The CS and DP is from CTMH and the tag stamp and punch is from SU.  Have a wonderful Mother's Day!

Wednesday, April 13, 2011

Sweet Treats!


These adorable Easter Egg Treat bags were made for the some special ladies who attended a retreat with me last weekend.  They all loved them, especially after we filled them with "treats"! 


All the embellishments on these "eggs" are from the Creative Charms Deal of the Month!  The egg shaped treat bags are from SVGCuts.com and were super easy to do.  The gorgeous Large Yellow Sparkled Flower and Amber Pure Blossoms on this one just scream Spring!


On this bag I used the Yellow Flower Bow and Purple Gradient Gem Stickers.  Also embossed the pink cardstock with a Cuttlebug embossing folder to give it a little more texture.


This bag features the Gingham Butterflies with the purple Gradient Gem Stickers for the body and on the bag.  All ready for Easter treats and I know some special little girls who would love these for Easter!

Thursday, March 17, 2011

Too Many Hugs?


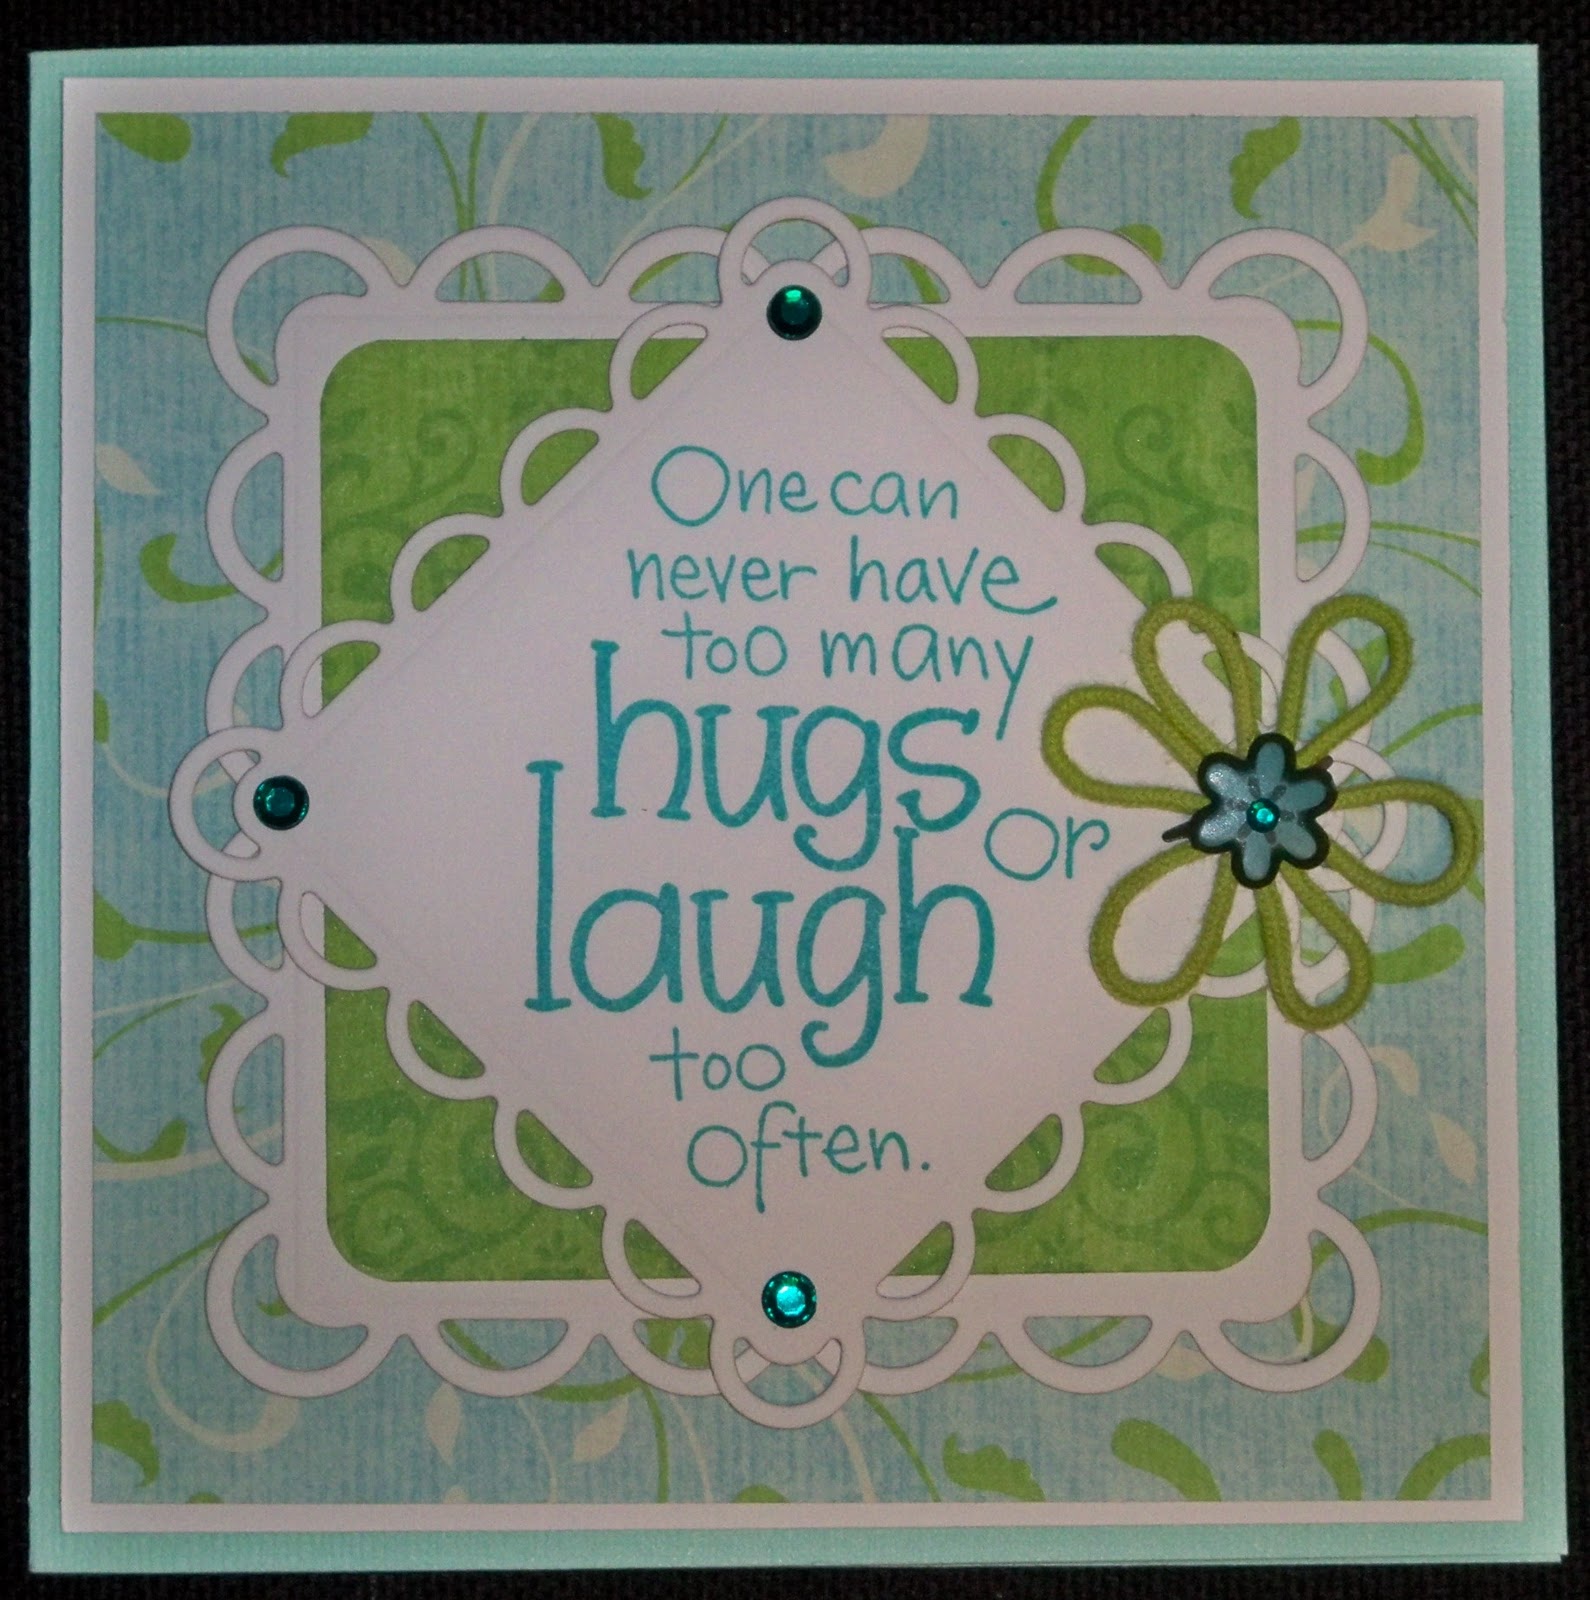
It's true, one can never have too many hugs so hug someone you love today!  This card features items from the Deal of the Month Kit from Creative Charms.  I used the Gradient Gem stickers on 3 of the corners of the Nestabilities die cut.  The 4th corner features the large flower from the Groovy Petal Medley included in the Deal!


Inside the adorable Changito Monkey sports a Gradient Gem Sticker in his navel!  Couldn't resist this adorable stamp set from Stampendous!


Monday, February 21, 2011

Variety of Cards!


The Kit of the Month for February has so many possibilities to choose from.  This first card is called a "Z Fold" card and is one of my favorite to make because to me it seems like there is a "surprise" inside. 


From the kit I used the White Flared Flowers and when you open the card it looks like the one on the bottom is floating.  It is also accented with blue Gradient Gem Stickers to dot the I's and the exclamation point!  Love how this turned out!


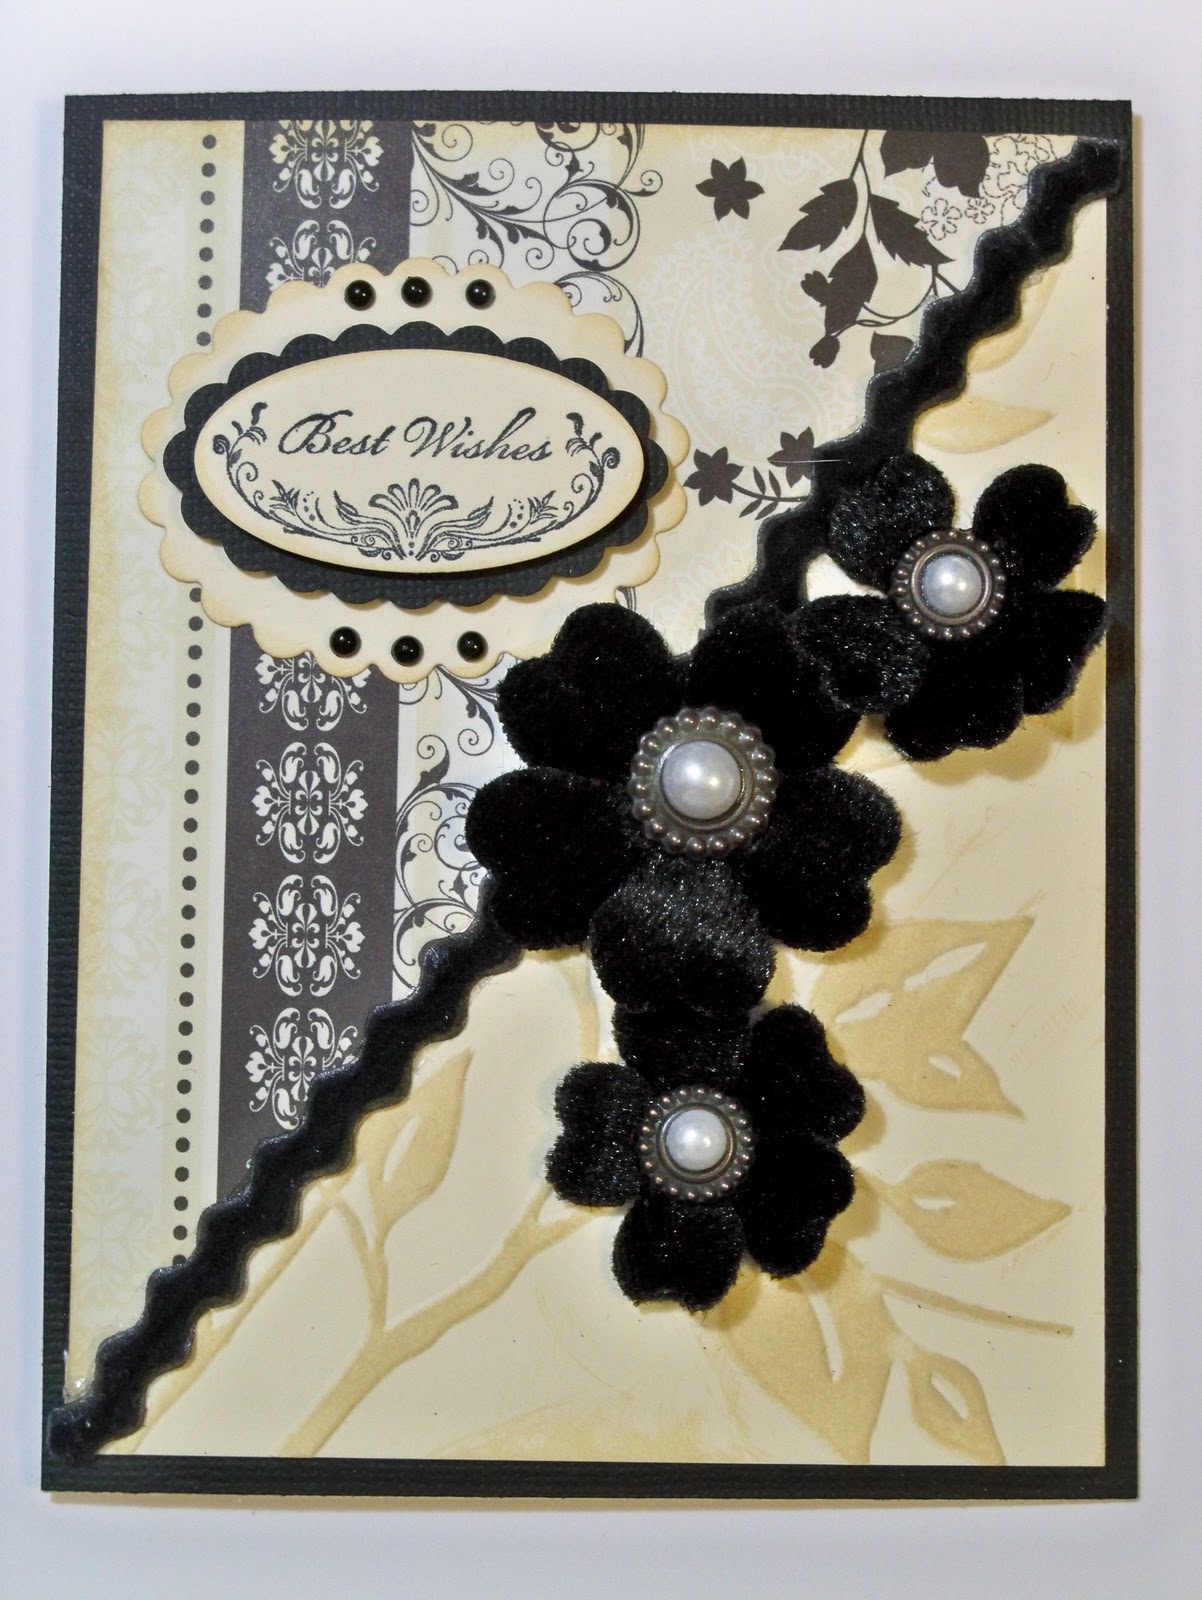
This second card uses the Black Vintage Velvet Poppies and I added the White Vintage Pearl Brads for the center of the flower.  The sentiment is accented with Gradient Pearl Stickers and the Black Vintage Velvet Ric Rac ribbon sets it off perfectly.  The bottom section is embossed using a cuttlebug embossing folder and then inked to bring out the embossed image.


The inside of this card is also accented with the Gradient Pearl Stickers.  I just love using the Gradient pearls and gems on my cards.


On this Birthday card I used the tiny stars from the Winter Seasonal Sparkles to accent the snowflakes.  I also used another of the White Flared Flowers included in the kit.  There is so much in these kits it is amazing.  I also used a Nestabilities die and inked it to bring out the embossed element of the die.  The oval was embossed with a cuttlebug embossing folder and the snowflake is once again from Nestabilities.  The lace border was punched using a MS punch.

Thursday, January 27, 2011

LOVE is in the Air!

Love is in the air and everyone is thinking about what to get their special Valentine.  Who wouldn't love to receive a card like this featuring the Kit of the Month - My Hearts Desire from Creative Charms.  Valentines is all about hearts and lace and the adorable scalloped hear with pastel roses sets off this card.

Thursday, December 30, 2010

Birthday Wishes from Tilda!


This Birthday card features one of my favorite little Tilda's from the Magnolia Stamp Collection.  These little cuties just can't help but make you smile!  She is accented with the blue Fancy Polka Dot ribbon and the blue Fancy Felt Flowers.  Aren't they just the cutest flowers you have ever seen!  Also used a MS edger punch for the lacy edge and Spellbinders Nestabilities to cut the scalloped circles.  Paper was from an old DCWV paper stack. 


I also made a few of these adorable Tissue Covers for Christmas gifts this year.  I used a Winter Theme so they could be used beyond the Holidays. The snowflakes are in the Winter Medley set of the Seasonal Medley collection and layered over the punched snowflakes from blue glitter CS.


They are accented with the Gradient Gem Stickers to give them more sparkle and are also added to the snowflakes on the top border.  The panels on the tissue cover are embossed using the Cuttlebug embossing folders and inked to bring out the embossing.  These were a big hit with the recipients!
Related Posts Plugin for WordPress, Blogger...